Minimum Advertised Price Monitoring with ScrapingBee
To uphold their brand image and protect profits, it's crucial for manufacturers to routinely monitor the advertised prices of their products. Minimum advertised price (MAP) monitoring helps brands check whether retailers are advertising their products below the minimum price set by the brand. This can prevent retailers from competing on product price, which can lead to a harmful race to the bottom. MAP monitoring helps brands identify and enforce their MAP policies. For instance, if a brand sets a MAP of $100 for a new cosmetic product, MAP monitoring would enable the company to identify and take action against retailers who advertise it for less than $100.
In this article, you'll learn how to build a MAP monitor and send alerts if a retailer advertises a product price below the specified MAP using Python and ScrapingBee APIs.

Prerequisites
Before you dive right in, make sure you have the following prerequisites in order:
- ScrapingBee Python SDK and API Key
- Knowledge of Python 3
- Basic knowledge of HTML and JavaScript for creating a demo product website
Implementing MAP Monitoring
This step-by-step tutorial will walk you through implementing a MAP monitor using Python and ScrapingBee APIs. You can access the source code for this implementation on GitHub.
1. Create a Demo Product Website
Before building a MAP monitor, you'll need a simple website (just a page, really) with a product and its price, as shown below.

Assume the MAP for this specific product is $100. We'll use this value throughout the tutorial.
In the product's HTML page, the <span id="map1"> element shown below actually displays the product price that the MAP monitor will fetch. This price is set by the JavaScript code that follows this HTML snippet.
<!-- The product price from `prices` array will be shown here. -->
<div class="pricebox">
	$<span id="map1"><script type="text/javascript">updatePrice();</script></span>
</div>
Consider the following JavaScript code. The prices array contains five prices below the MAP ($100) and five prices above it. The code displays a different product price based on the last digit of the minute within the <span id="map1"> element. This approach will allow easy verification for MAP monitor alerts.
function updatePrice(){
  prices = [100, 91, 102, 93, 104, 95, 106, 97, 108, 99];
  // index based on the last-digit of the minute
  index = new Date().getMinutes() % 10;
  document.getElementById("map1").innerHTML = prices[index];
}
This product website/page is hosted at https://reclusivecoder.com/spb/scraping-bee-map-demo.html. We'll use this link in the MAP monitor as a retailer website URL.
2. Set Up ScrapingBee
You may wish to create a new virtual environment and activate it before installing any of the Python packages discussed below.
Setting up ScrapingBee is easy. First, install the ScrapingBee SDK with this command:
pip install scrapingbee
This SDK provides a simple Python interface over the ScrapingBee APIs, making it easier for you to implement any scraper.
Next, create a free trial account on the ScrapingBee website and obtain your API Key. This is required to use the ScrapingBee SDK in your code.
Next, install python-dotenv, which allows you to store the API key outside your code.
pip install python-dotenv
Finally, create an empty .env file inside your Python code directory and add your API key there.
SPB_API_KEY="Your-API-Key"
3. Build the Scraper to Monitor the Price
Import the necessary packages, then call load_dotenv() and configure the logging, as shown below.
import os
import json
import logging
import sched

from dotenv import load_dotenv
from scrapingbee import ScrapingBeeClient

 # for reading API key from `.env` file.
load_dotenv()

# helpful to have logs with timestamps for verification
logging.basicConfig(
	format='%(asctime)s %(levelname)s: %(message)s',
	level=logging.INFO)
Note: The load_dotenv() allows you to access the API key from the .env file. It's a good coding practice to store credentials in this file (or as environment variables) rather than including them directly in the code. Furthermore, ensure that the .env file is not pushed to the Git repository. Include it in your .gitignore file to prevent this.
Initialize the ScrapingBee client with your API key, as shown in the MAPMonitor class below.
The code that comes after the constructor is the heart of this scraper, responsible for monitoring the product's minimum advertised price. The class methods check_current_price(...) and _process_price(...) handle this.
class MAPMonitor:

api_key = os.getenv("SPB_API_KEY")  # get API-Key from `.env` file
client = ScrapingBeeClient(api_key=api_key)

def __init__(self, _price: int):

   self.min_price = _price
   logging.info(f"Monitoring for MAP threshold: ${self.min_price}")

def check_current_price(self, url: str, extract_id: str):

   if self.client and url:
       logging.info("Checking current price...")
       response = self.client.get(url, params={"wait": 100, "extract_rules": {"price": f"{extract_id}"}})

       if response.ok:
           self._process_price(response.content.decode("utf-8"))
       else:
           logging.error(f"### Response Error - {response.status_code}: {response.content}")
   else:
       logging.error(f"### Invalid client: {self.client} or URL: {url} passed!")

def _process_price(self, txt: str):

   price_data = json.loads(txt)
   if price_data.get("price", "").isdigit():
       current_price = int(price_data.get("price"))
       if current_price < self.min_price:
           MAPMonitor._send_map_alert(current_price)
       else:
           # for debugging only, this will be NO-OP, since price is above MAP
           logging.debug(f"----->> Ignoring price above MAP: ${current_price}.")
   else:
       logging.error(f"### Invalid price-data format: {txt}")
The method check_current_price(...) takes two arguments:
urlextract_id
The demo website URL, mentioned in step 1, and #map1 (derived from the price element <span id="map1">) are passed while invoking this method. The ScrapingBee client establishes a connection to the provided website URL and extracts the content within the HTML element identified by the extract_id.
This code uses a CSS selector to extract the necessary data. Depending on your specific use case, you can opt for an XPath selector instead.
ScrapingBee simplifies the retrieval of relevant price data through a single call using the extract_rules parameter. There's no need to traverse the DOM tree or parse the HTML to obtain the desired data. You get it directly in the JSON format: {"price": "91"}.
client.get(url, params={"wait": 100, "extract_rules": {"price": f"{extract_id}"}})
The additional wait parameter used here ensures that any JavaScript code on the specified URL page completes its execution. Keep in mind that the client.get(url, ...) call is blocking, and it involves network I/O. Therefore, it might take a few seconds to establish a connection with the retailer's website and scrape the required price data.
After the advertised price is obtained, the data is processed in the _process_price(...) method. Once it's formatted as an integer value, this method checks if the current price is below the MAP. If this condition is met, relevant notifications are sent through the _send_map_alert(...) method.
Note that when the advertised price is valid—that is, when it's equal to or above the MAP—no alert is necessary. The code above just logs this information using logging.debug(...).
4. Change the Product Price
As mentioned earlier, the JavaScript code on the product page generates predictable yet varied prices. When the last digit of the minute is odd (1, 3, . . . , 9), it displays prices below the MAP, ranging from $91 to $99. For even digits (0, 2, . . . , 8), the displayed prices are above the MAP, ranging from $100 to $108.
The following code achieves this:
prices = [100, 91, 102, 93, 104, 95, 106, 97, 108, 99];
index = new Date().getMinutes() % 10;
document.getElementById("map1").innerHTML = prices[index];
Refresh the product page to verify the described price changes.
5. Detect Price Changes
You can manually execute the following Python code at various times (odd and even minutes) to verify that the scraper code detects the changed price(s):
map_monitor = MAPMonitor(100)   # Minimum advertised price (MAP)
map_monitor.check_current_price("<url-here>", '#map1')
Note: You'll learn how to monitor price changes with scheduling later in this article.
6. Alert on Below-MAP Prices
The method _send_map_alert(...) is triggered by the previously mentioned _process_price(...) method when the advertised price on the retailer's website is below the MAP. In this demo implementation, the _send_map_alert(...) method merely logs a warning, as shown by its output below.
def _send_map_alert(current_price: int):
	# send appropriate below-MAP alerts via email/SMS etc.
	logging.warning(f"----->> ALERT: Current retailer price is *below* MAP: ${current_price}!")
Output:
2023-08-14 10:01:25,006 WARNING: ----->> ALERT: Current retailer price is *below* MAP: $91!
In the real world, the below-MAP alerts would be sent to the brand through email or text messages.
7. Automate MAP Monitoring with a Scheduler
Instead of manually running the scraper to monitor a retailer's advertised price, you can use a scheduler. This automates the process, ensuring that prices are periodically fetched and compared against the brand's MAP.
The code below demonstrates automated monitoring using Python's event scheduler. Two scraping calls are scheduled one minute apart, covering both odd and even minutes to trigger the below-MAP alert.
if __name__ == '__main__':
	monitor_url = "https://reclusivecoder.com/spb/scraping-bee-map-demo.html"
	price_element = "#map1"

	map_monitor = MAPMonitor(100)   # Minimum advertised price (MAP)

	sch = sched.scheduler()
	sch.enter(5, 1, map_monitor.check_current_price, argument=(monitor_url, price_element))
	sch.enter(65, 1, map_monitor.check_current_price, argument=(monitor_url, price_element))
	sch.run()  # blocking call, wait!

	logging.info("Finished!")
Output:
$ python min_adv_price_monitor.py
2023-08-14 10:00:03,941 INFO: Monitoring for MAP threshold: $100
2023-08-14 10:00:08,942 INFO: Checking current price...
2023-08-14 10:01:08,968 INFO: Checking current price...
2023-08-14 10:01:25,006 WARNING: ----->> ALERT: Current retailer price is *below* MAP: $91!
2023-08-14 10:01:25,010 INFO: Finished!
$
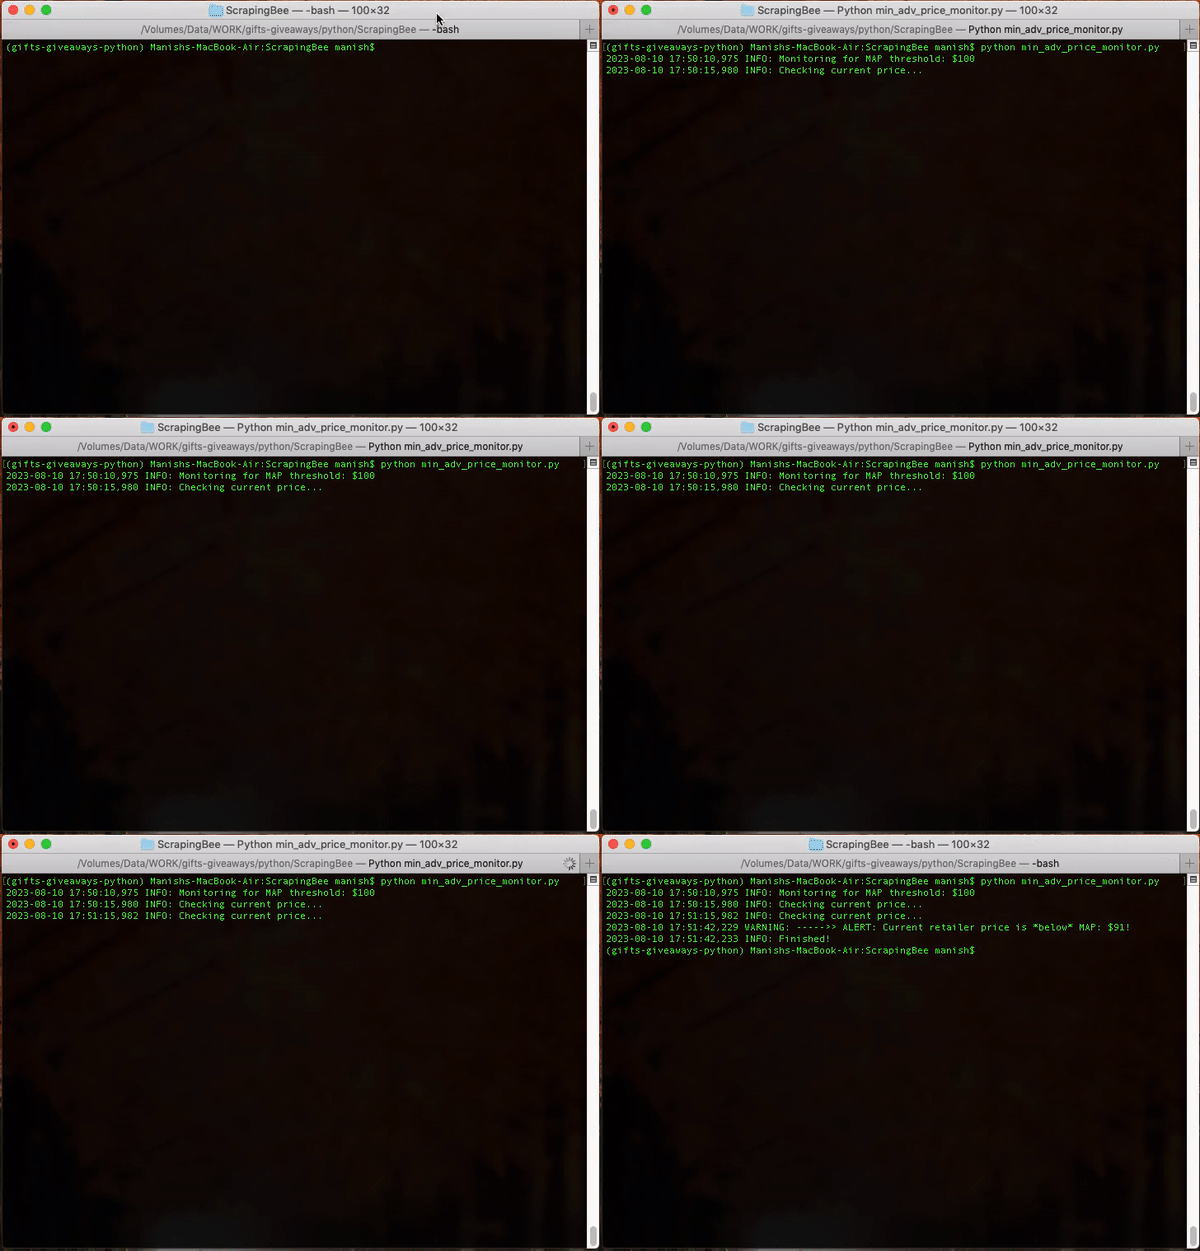
The output shows that no alert is generated when the price is above MAP at 10:00 a.m. However, an alert is triggered at 10:01 a.m. when the advertised price falls below the MAP to $91.
You can see it in the animated GIF below.

The logging level is set at logging.INFO, so the logging.debug(...) statement from the _process_price(...) method doesn't appear in the output above.
Note: A professional MAP-monitoring tool might employ a robust scheduler like Advanced Python Scheduler (APScheduler) to scan retailer websites at different intervals and identify MAP violations.
Conclusion
Minimum advertised price (MAP) monitoring tracks retailers to check if they're advertising prices below the brand-set minimum. MAP-monitoring tools scan retailer websites and notify brands when MAP violations occur.
In this article, you learned how to build a Python scraper using ScrapingBee APIs to monitor and alert brands about prices below their MAP. The tutorial took you through creating a product website, setting up ScrapingBee, building a scraper to monitor prices, dynamically changing the product price, automating price monitoring, and triggering alerts for MAP violations.
The complete code for this implementation is available in this GitHub repository.
In real life, you may face challenges like rate limits and IP blocking on certain websites, making MAP data monitoring tricky. ScrapingBee tackles this with rotating proxies and multiple headless browsers, so you can simply focus on getting the data you need.
If you prefer not to have to deal with rate limits, proxies, user agents, and browser fingerprints, please check out our no-code web scraping API. Remember, the first 1,000 calls are on us!


