Taking a screenshot of your website is very straightforward using ScrapingBee. You can either take a screenshot of the visible portion of the page, the whole page, or an element of the page.
That can be done by specifying one of these parameters with your request:
screenshotto true or false.screenshot_full_pageto true or false.screenshot_selectorto the CSS selector of the element.
In this tutorial, we will see how to take a screenshot of ScrapingBee’s blog using the three methods.
1. Using screenshot parameter:
The code below will take a screenshot of the blog home page:
from scrapingbee import ScrapingBeeClient

client = ScrapingBeeClient(api_key='YOUR-API-KEY')
response = client.get(
    'https://scrapingbee.com/blog', # Demo link
    params={
        'screenshot': True, # Take a screenshot of the page
    }
)
if response.ok:
    with open("./screenshot.png", "wb") as f:
        f.write(response.content) # Take the response and put it in a PNG file
else:
    print(response.content)
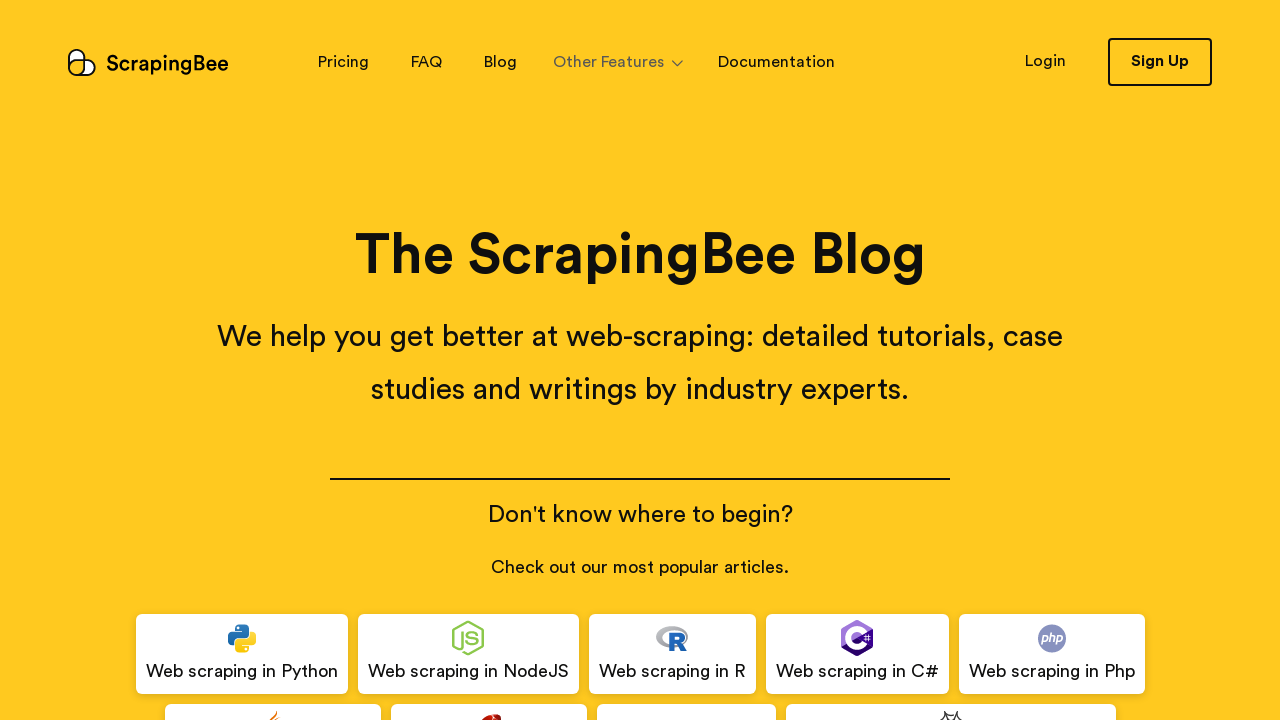
As you’ll see below, the screenshot only covered the visible part of the scraper [1920x1080]. It didn’t cover the blog posts, or the footer.
So what affects the size of the image, and the visible parts of the page? The answer is the scraper’s default viewport. Its default width and height are 1920px and 1080px respectively. And to change them we’ll have to make the request with two additional parameters: window_width and window_height.
from scrapingbee import ScrapingBeeClient

client = ScrapingBeeClient(api_key='YOUR-API-KEY')
response = client.get(
    'https://scrapingbee.com/blog', # Demo link
    params={
        'window_width': '1280', # Set viewport width to 1280 pixels
        'window_height': '720', # Set viewport height to 720 pixels
        'screenshot': True, # Take a screenshot of the page
    }
)
if response.ok:
    with open("./screenshot.png", "wb") as f:
        f.write(response.content) # Take the response and put it in a PNG file
else:
    print(response.content)
And as you will see, the image below is 1280x720 pixels.
2. Using screenshot_full_page parameter:
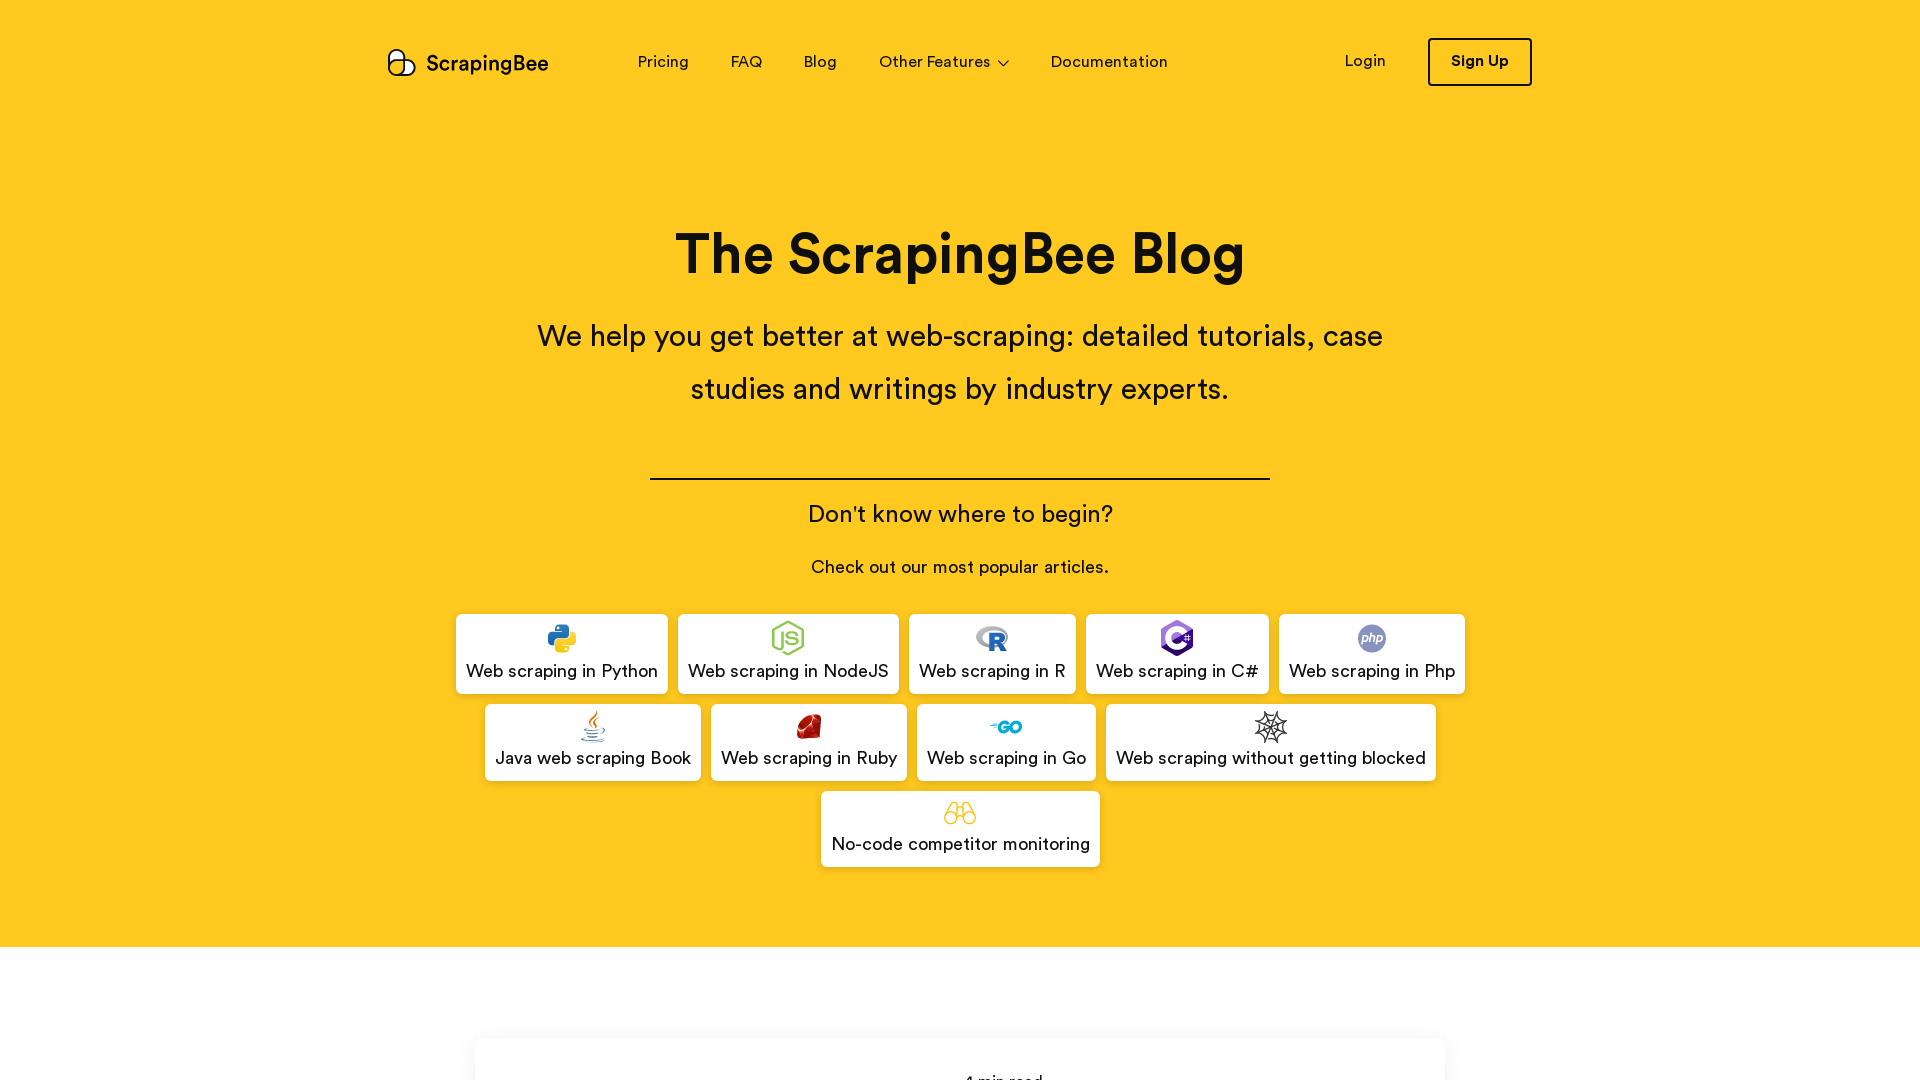
This parameter makes the request take a screenshot of the full page. Here’s how to use it:
from scrapingbee import ScrapingBeeClient

client = ScrapingBeeClient(api_key='YOUR-API-KEY')
response = client.get(
    'https://scrapingbee.com/blog', # Demo link
    params={
        'screenshot_full_page': True, # Take a full screenshot of the page
    }
)
if response.ok:
    with open("./screenshot.png", "wb") as f:
        f.write(response.content)
else:
    print(response.content)
And the results as you’ll see, is a screenshot of the whole page. Large screenshot, click here to see it.
3. Using screenshot_selector parameter:
This parameter will take a screenshot of any HTML element on the page. All you have to do, is to specify the CSS selector of that element.
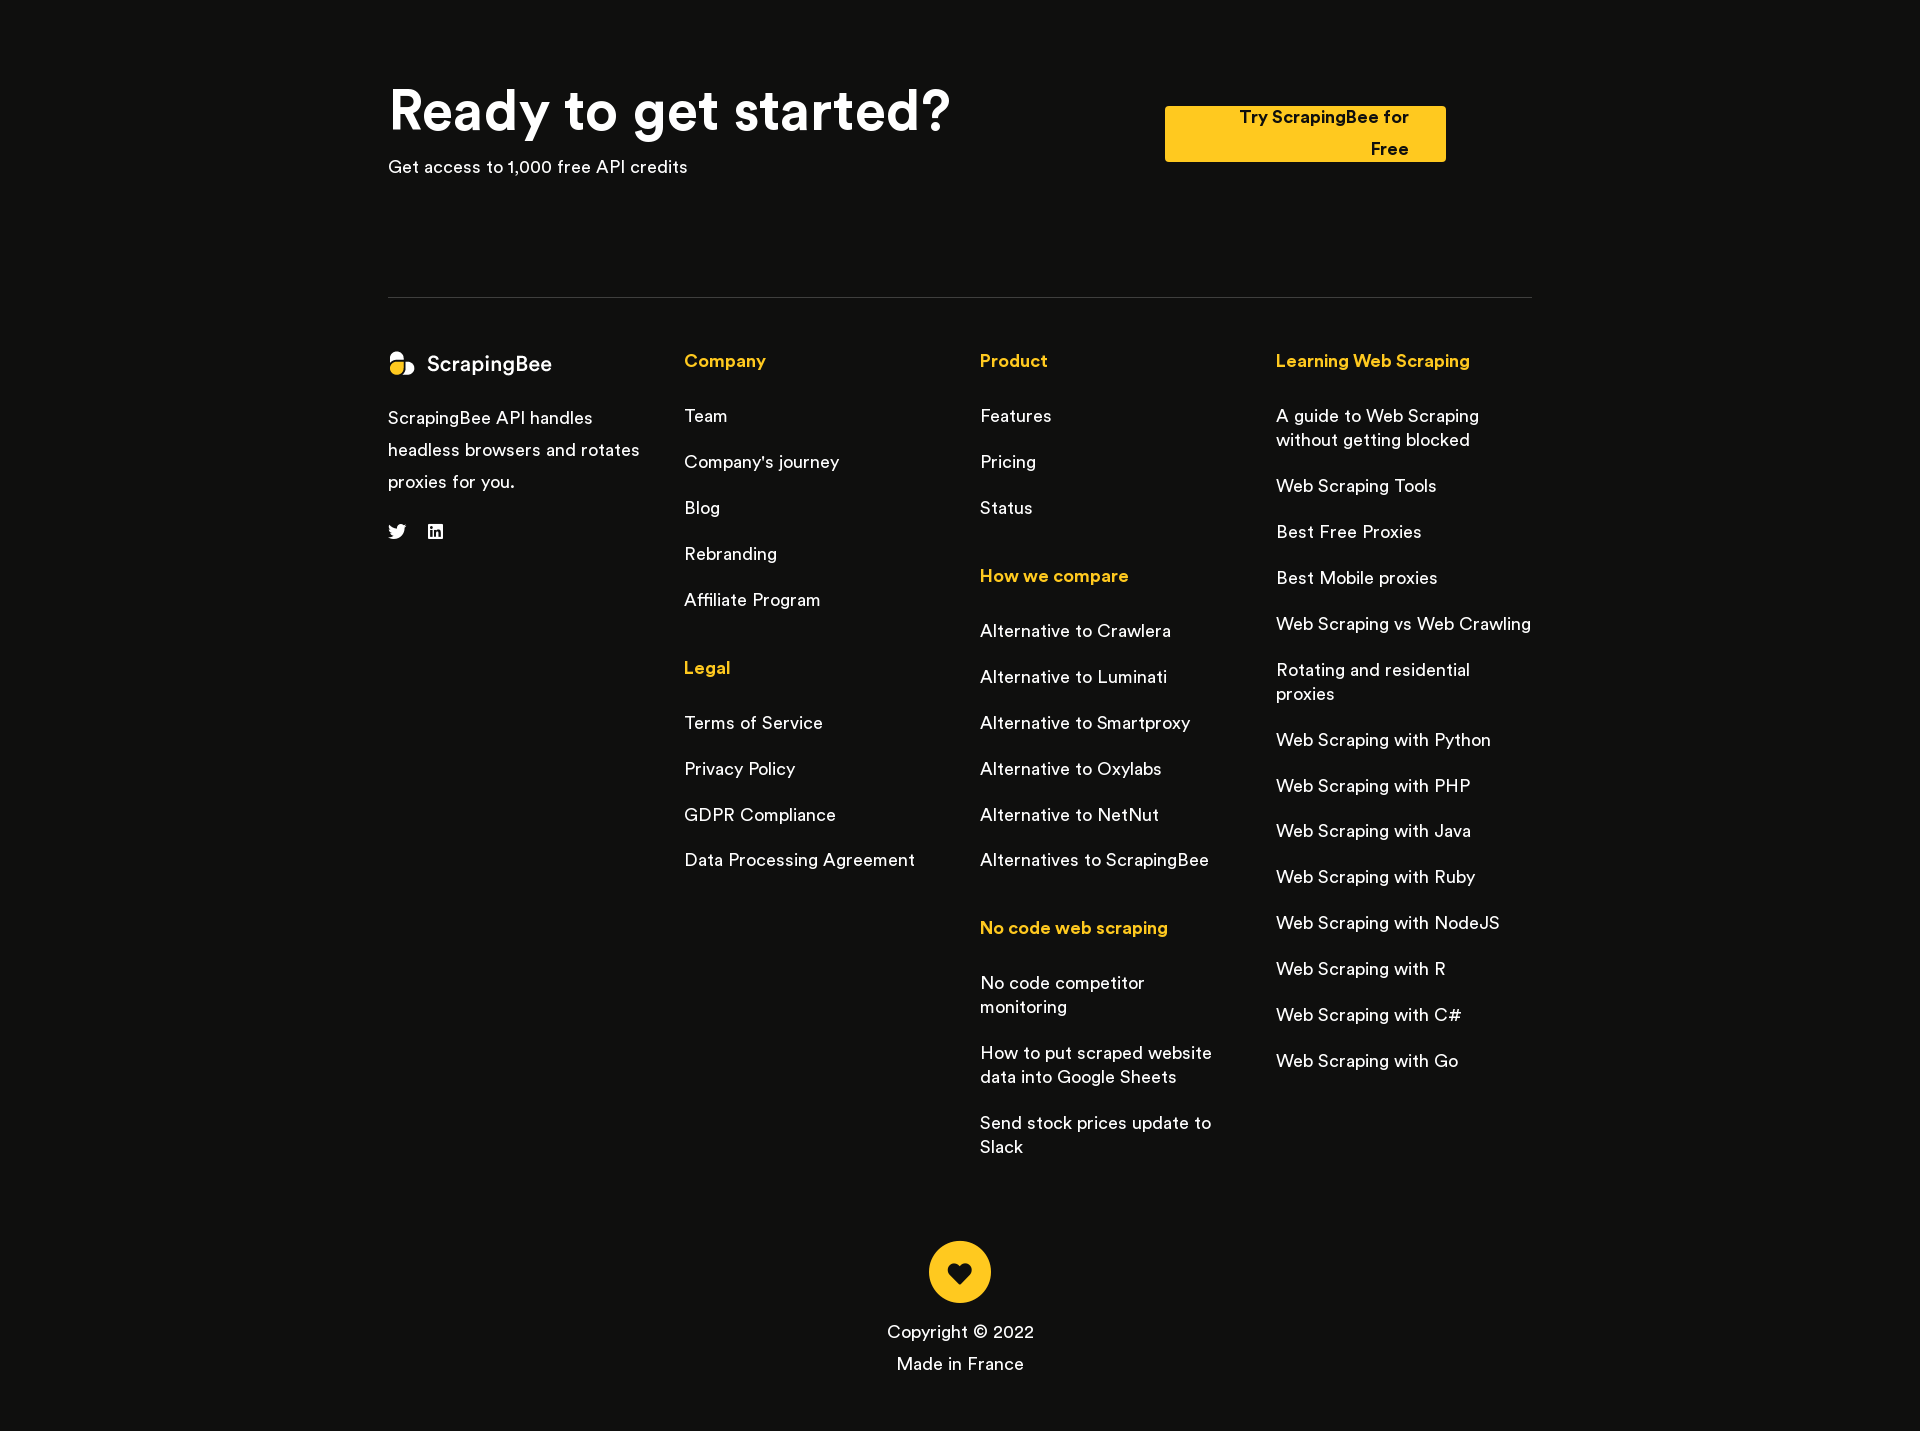
Let’s say that we wanted to take a screenshot of the footer section on this page. We will simply make our request with this additional parameter: screenshot_selector="footer".
So the code will look like this:
from scrapingbee import ScrapingBeeClient

client = ScrapingBeeClient(api_key='YOUR-API-KEY')
response = client.get(
    'https://scrapingbee.com/blog', # Demo link
    params={
        'screenshot_selector': "footer", # Take a full screenshot of the page
    }
)
if response.ok:
    with open("./screenshot.png", "wb") as f:
        f.write(response.content)
else:
    print(response.content)
And the result is a screenshot of the footer as you can see: