Why use Faraday?
Faraday is a very famous and mature HTTP client library for Ruby. It uses an adapter-based approach which means you can swap out the underlying HTTP requests library without modifying the overarching Faraday code. By default, Faraday uses the Net::HTTP adapter but you can switch it out with Excon, Typhoeus, Patron or EventMachine without modifying more than a line or two of configuration code. This makes Faraday extremely flexible and relatively future-proof.

Why use proxies?
Proxies provide anonymity and security. They help mask your real IP address from websites. They really shine when you are scraping data from websites and sending a ton of requests. Generally, websites blacklist IP addresses that send too many requests to their servers. If you use proxies, you can cycle through them and continue web scraping without worrying about blacklisting your real IP address.
Setting up dependencies
Create a new folder and a Ruby file to store the code for this tutorial:
$ mkdir faraday_tutorial
$ cd faraday_tutorial
$ touch app.rb
Now install the faraday dependency. You can either use a gem file or install it manually via the terminal like so:
$ sudo gem install faraday
This should result in an output similar to this:
$ sudo gem install faraday

Successfully installed faraday-2.7.1
Parsing documentation for faraday-2.7.1
Done installing documentation for faraday after 0 seconds
1 gem installed
Making a basic HTTP request
You can make a basic HTTP GET request using Faraday very easily:
#!/usr/bin/ruby

require 'faraday'

res = Faraday.get 'https://api.ipify.org/?format=json'

puts res.body
Save this code in the app.rb file and run ruby app.rb. It should print your public IP address in the terminal.
Using a proxy with Faraday
Using a proxy with Faraday is equally straightforward:
require 'faraday'

conn = Faraday.new('https://api.ipify.org/?format=json', :proxy => 'https://117.251.103.186:8080') do |f|
	f.response :json
end

conn.get.body
Multiple sources list free public proxies. I took the above proxy from a similar list hosted by Free Proxy List. Running the code above should result in the proxy host being printed in the terminal:
{"ip"=>"117.251.103.186"}
Faraday allows you to modify certain configurations on a per-connection and/or per-request basis. However, proxy information can only be set up at the connection initialization stage.
Using an authenticated proxy with Faraday
You can use authenticated proxies with Faraday as well. You just need to add the username and password to the proxy connection string:
USER = ""
PASS = ""

proxy_ip = "117.251.103.186"
proxy_port = "8886"

conn = Faraday.new(
	'https://api.ipify.org/?format=json',
	:proxy => "http://#{USER}:#{PASS}@#{proxy_ip}:#{proxy_port}",
) do |f|
	f.response :json
end

conn.get.body
Note: The proxy IPs used in this tutorial might stop working by the time you are reading this tutorial so make sure you use fresh proxies to follow along.
If you encounter this error:
Faraday::SSLError (SSL_connect returned=1 errno=0 state=SSLv3 read server certificate B: certificate verify failed (self signed certificate))
You might have to modify the Faraday.new call to disable SSL verification:
conn = Faraday.new(
	'https://api.ipify.org/?format=json',
	:proxy => "http://#{USER}:#{PASS}@#{proxy_ip}:#{proxy_port}",
	:ssl=>{verify:false}
) do |f|
	f.response :json
end
Successful execution of the code will result in the proxy IP being printed in the terminal:
$ ruby app.rb

{"ip"=>"73.162.70.177"}
Setting a proxy via environment variables
Faraday also respects global proxy settings. You can set up a proxy using the http_proxy and https_proxy environment variables and Faraday will automatically pick up these settings. Update the code in app.rb file and remove the proxy config code:
require "Faraday"

conn = Faraday.new('https://api.ipify.org/?format=json')
puts conn.proxy
Next, set the https_proxy environment variable in the terminal:
$ export https_proxy=https://117.251.103.186:8080
Now run the ruby code. It should print the correct proxy information in the terminal even though you didn't explicitly configure it in app.rb file:
<struct Faraday::ProxyOptions uri=#<URI::HTTPS https://117.251.103.186:8080>, user=nil, password=nil>
You can also use authenticated proxies this way. The only difference is that you will set the user/pass in the environment variable as well:
export https_proxy=https://username:password@host:port/
Rotating proxies with requests
You should try to rotate your proxies with every other request. This helps make sure that your proxies don't get banned/blacklisted. A very simple approach to achieve proxy rotation is to define all the proxies inside a proxy_list array. Then select a random proxy from this array and use it for the next request.
The following code is a good starting point:
require "faraday"

proxy_list = [
    {
        protocol: 'http',
        host: '206.189.146.13',
        port: 8080,
    },
  	# Additional proxies
    {
        protocol: 'http',
        host: '132.129.121.148',
        port: 8080,
    },
    {
        protocol: 'http',
        host: '154.129.98.156',
        port: 8080,
    },
    {
        protocol: 'http',
        host: '211.129.132.150',
        port: 8080,
    },
    {
        protocol: 'http',
        host: '164.129.114.111',
        port: 8080,
    }
]


proxy = proxy_list.sample

conn = Faraday.new(
  'https://api.ipify.org/?format=json',
  :proxy => "#{proxy[:protocol]}://#{proxy[:host]}:#{proxy[:port]}"
) do |f|
	f.response :json
end

puts conn.get.body
You can modify the code above for your use cases. proxy_list.sample will always return a random proxy. You can also modify the hashmaps to contain authentication information if you are using authenticated proxies.
Using ScrapingBee proxies
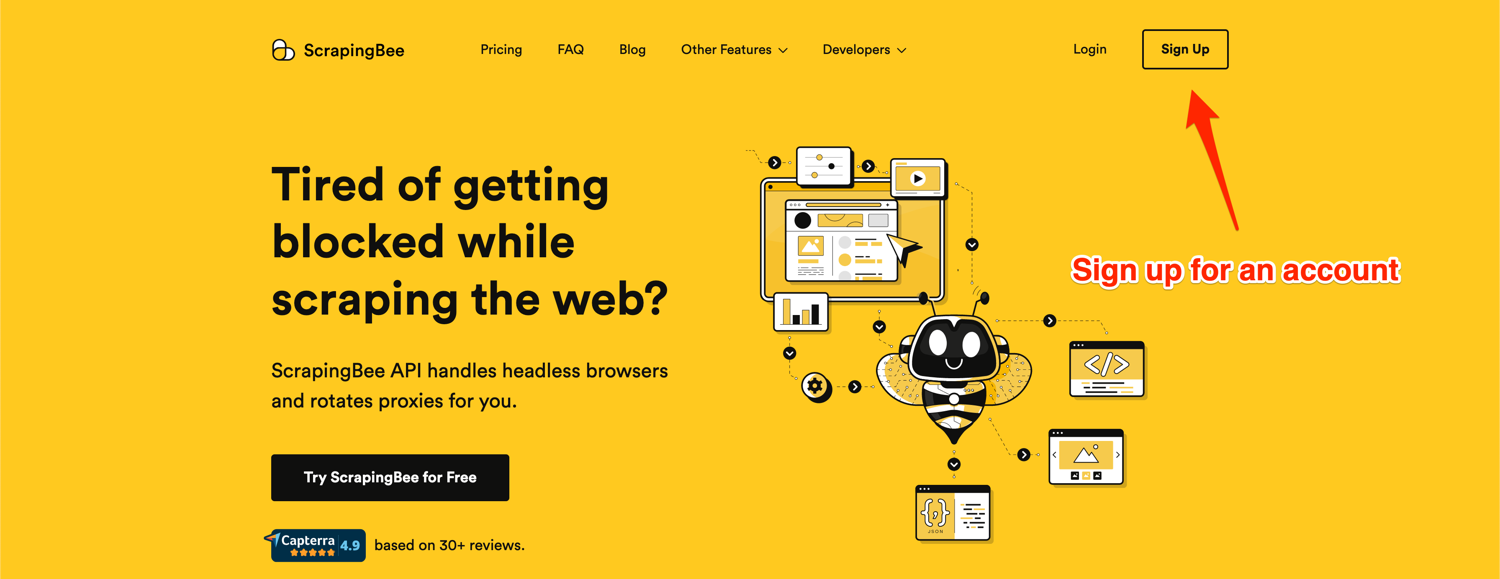
If you have done some decent amount of web scraping then you know how difficult it is to get a list of premium unblocked proxies. ScrapingBee helps you get around that problem by allowing you to use their premium IPs for web scraping. While the most powerful features of the platform are available only in the paid version, you do get access to 1000 free credits for making proxied requests. They only charge you credits when they return a successful response.
Let's look at a quick example of how you can use ScrapingBee. Go to the ScrapingBee website and sign up for an account:
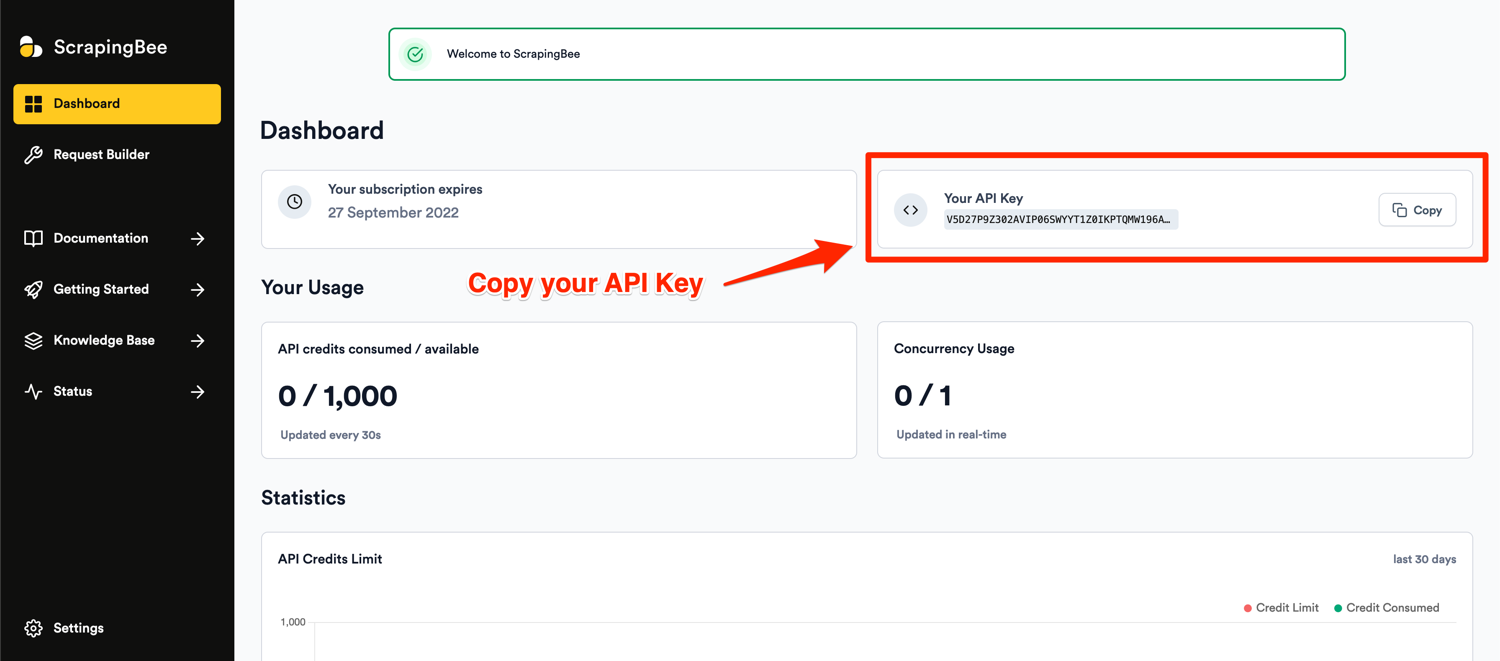
After successful signup, you will be greeted with the default dashboard. Copy your API key from this page and start modifying the code in the app.js file:
You can make a request via ScrapingBee using Faraday like this:
YOUR_API_KEY = ""
PASS = "render_js=False&premium_proxy=True"

proxy_host = "proxy.scrapingbee.com"
proxy_port = "8886"

conn = Faraday.new(
	'https://api.ipify.org/?format=json',
	:proxy => "http://#{YOUR_API_KEY}:#{PASS}@#{proxy_host}:#{proxy_port}",
	:ssl=>{verify:false}
) do |f|
	f.response :json
end

conn.get.body
Note: Don't forget to populate YOUR_API_KEY with your API key from the ScrapingBee dashboard.
The password field is used to configure the various parameters supported by the ScrapingBee API. In this example, we are disabling JS rendering and asking ScrapingBee to use premium proxies.
Running the above code should print a random IP address in the terminal. Successive requests will print different IP addresses as ScrapingBee automatically rotates IP addresses so you don't have to do that on your own. ScrapingBee's proxy mode is so economical and easy to use that there is no reason not to give it a try!
Conclusion
In this article, you learned how to use simple and authenticated proxies with Faraday. You also saw how you can configure proxies using the environment variables. This is required knowledge when you start any serious web scraping task. You also discovered ScrapingBee and how it takes the pain out of using fresh and high-quality proxies and abstracts away proxy rotation.
If you have any further questions related to proxies and/or web scraping in general, please reach out! We would love to help you out and take care of your needs.
Additional resources

Yasoob is a renowned author, blogger and a tech speaker. He has authored the Intermediate Python and Practical Python Projects books ad writes regularly. He is currently working on Azure at Microsoft.