Why use Axios?
Axios is a very famous HTTP client for browsers and node.js. It is widely popular and well-supported. Axios also provides more features than the Fetch API, like the HTTP interceptors (middlewares) that allow you to modify all requests sent from your application globally.

Why use proxies?
Developers use proxies for anonymity, and security, and sometimes will even use more than one to prevent websites from banning their IP addresses. Proxies also carry several other benefits such as bypassing filters and censorship. Feel free to learn more about rotating proxies before continuing, but let's get started!
Setting up dependencies
Create a new folder where the code from this article will be stored and initialize a new Node.js project in it:
$ mkdir nodeaxios
$ cd nodeaxios
$ npm init -y
Next, install the Axios dependency and create the app.js file that will contain our project code:
$ npm i axios
$ touch app.js
This should result in a bunch of new files and folders in the nodeaxios directory. Finally, create a start command by editing the package.json file:
{
  "name": "nodeaxios",
  "version": "1.0.0",
  "description": "",
  "main": "index.js",
  "scripts": {
    "start": "node app.js "
  },
  "keywords": [],
  "author": "",
  "license": "ISC",
  "dependencies": {
    "axios": "^1.1.3"
  }
}
If everything is setup correctly, npm start should run without any errors:
$ npm start

> nodeaxios@1.0.0 start
> node app.js
Making a basic HTTP request
You can create a basic HTTP request using Axios like this:
const axios = require('axios');

axios.get('https://api.ipify.org/?format=json')
    .then(res => {
        console.log(res.data)
    }).catch(err => console.error(err))
Save this code in app.js and run npm start. It should print your public IP address:
$ npm start


> nodeaxios@1.0.0 start
> node app.js

{ ip: '119.73.113.170' }
Using a proxy with Axios
You can use a proxy with Axios like this:
axios.get('https://api.ipify.org/?format=json',
    {
        proxy: {
            protocol: 'http',
            host: '149.129.239.170',
            port: 8080
        }
    }
)
    .then(res => {
        console.log(res.data)
    }).catch(err => console.error(err))
Multiple sources list free public proxies. I took the above proxy from a similar list hosted by Free Proxy List. Running the code above should result in the proxy host being printed in the terminal:
$ npm start

> nodeaxios@1.0.0 start
> node app.js

149.129.239.170
Using an authenticated proxy with Axios
You can use authenticated proxies with Axios as well that require a user/pass combination. Axios allows you to set an auth property that will pass the defined user/pass to the proxy:
axios.get('https://api.ipify.org/?format=json',
    {
        proxy: {
            protocol: 'http',
            host: '149.129.239.170',
            port: 8080,
            auth: {
                username: 'yasoob',
                password: 'p@$$w0Rd'
            }
        }
    }
)
    .then(res => {
        console.log(res.data)
    }).catch(err => console.error(err))
If you run the above code (after replacing the placeholder proxy details with working proxy details), it should print a similar output as before:
$ npm start

> nodeaxios@1.0.0 start
> node app.js

149.129.239.170
Setting a proxy via environment variables
You can ask Axios to use a proxy by setting up the http_proxy or https_proxy environment variables as well. This way you can skip the proxy configuration part within Axios commands and Axios will automatically use the proxy details from the environment variables. Update the code in app.js and change the axios request back to the default case:
const axios = require('axios');

console.log(process.env.http_proxy);
axios.get('https://api.ipify.org/?format=json')
    .then(res => {
        console.log(res.data)
    }).catch(err => console.error(err))
Next, set the https_proxy environment variable and run the app.js file again:
$ export https_proxy=http://149.129.239.170:8080/
$ npm start

> nodeaxios@1.0.0 start
> node app.js


149.129.239.170
You can also use authenticated proxies this way. The only difference is that you will set the user/pass in the environment variable as well:
export https_proxy=http://username:password@host:port/
Rotating proxies with requests
It is always a good idea to rotate your proxies with successive requests. This decreases the likelihood of any one proxy being blacklisted. You can do this by simply defining an array of proxies and using a random proxy with each new request.
const axios = require('axios');

// An array of 10 proxies
const proxy_list = [
    {
        protocol: 'http',
        host: '149.129.239.170',
        port: 8080,
    },
    //...
    {
        protocol: 'http',
        host: '132.129.121.148',
        port: 8080,
    },
    {
        protocol: 'http',
        host: '154.129.98.156',
        port: 8080,
    },
    {
        protocol: 'http',
        host: '211.129.132.150',
        port: 8080,
    },
    {
        protocol: 'http',
        host: '164.129.114.111',
        port: 8080,
    }
]
let random_index = Math.floor(Math.random() * proxy_list.length);

axios.get('https://api.ipify.org/?format=json',
    {
        proxy: proxy_list[random_index]
    }
)
    .then(res => {
        console.log(res.data)
    }).catch(err => console.error(err))
You can alter the code above to meet your specific needs. On each run, axios will use a random proxy from the proxy_list.
Using ScrapingBee proxies
If you have done some decent amount of web scraping then you know how difficult it is to get a list of premium unblocked proxies. ScrapingBee helps you get around that problem by allowing you to use their premium IPs for web scraping. While the most powerful features of the platform are available only in the paid version, you do get access to 1000 free credits for making proxied requests. They only charge you credits when they return a successful response.
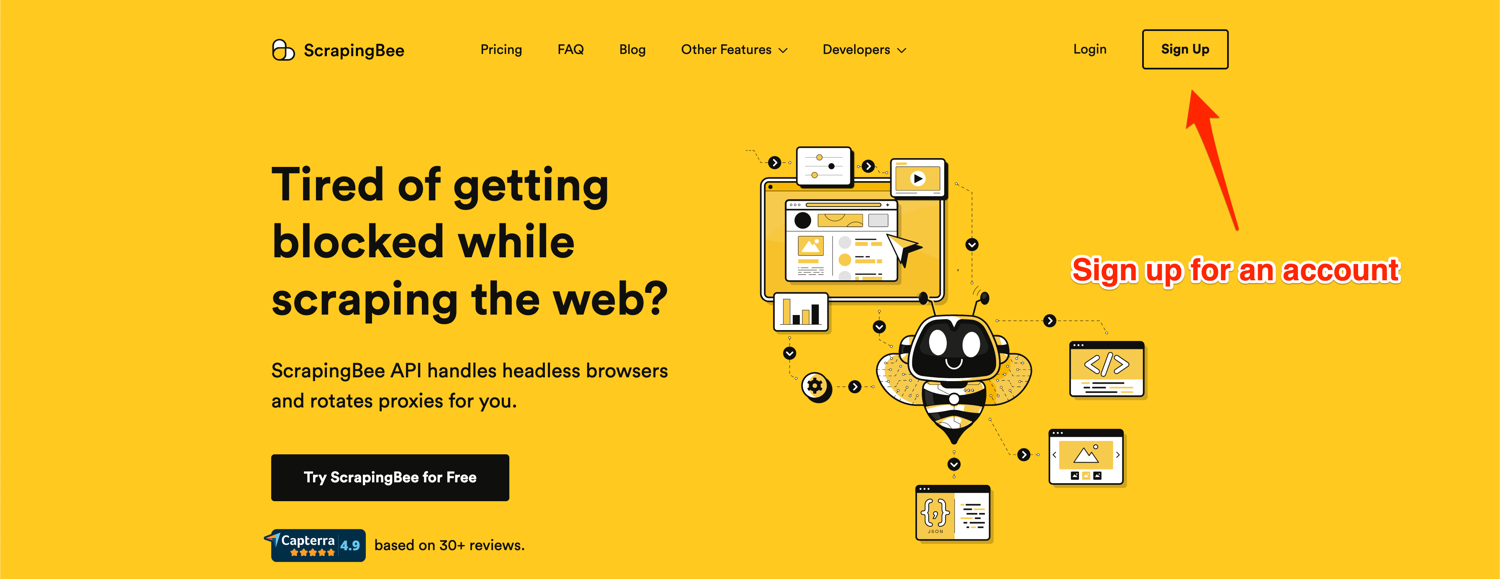
Let's look at a quick example of how you can use ScrapingBee. Go to the ScrapingBee website and sign up for an account:
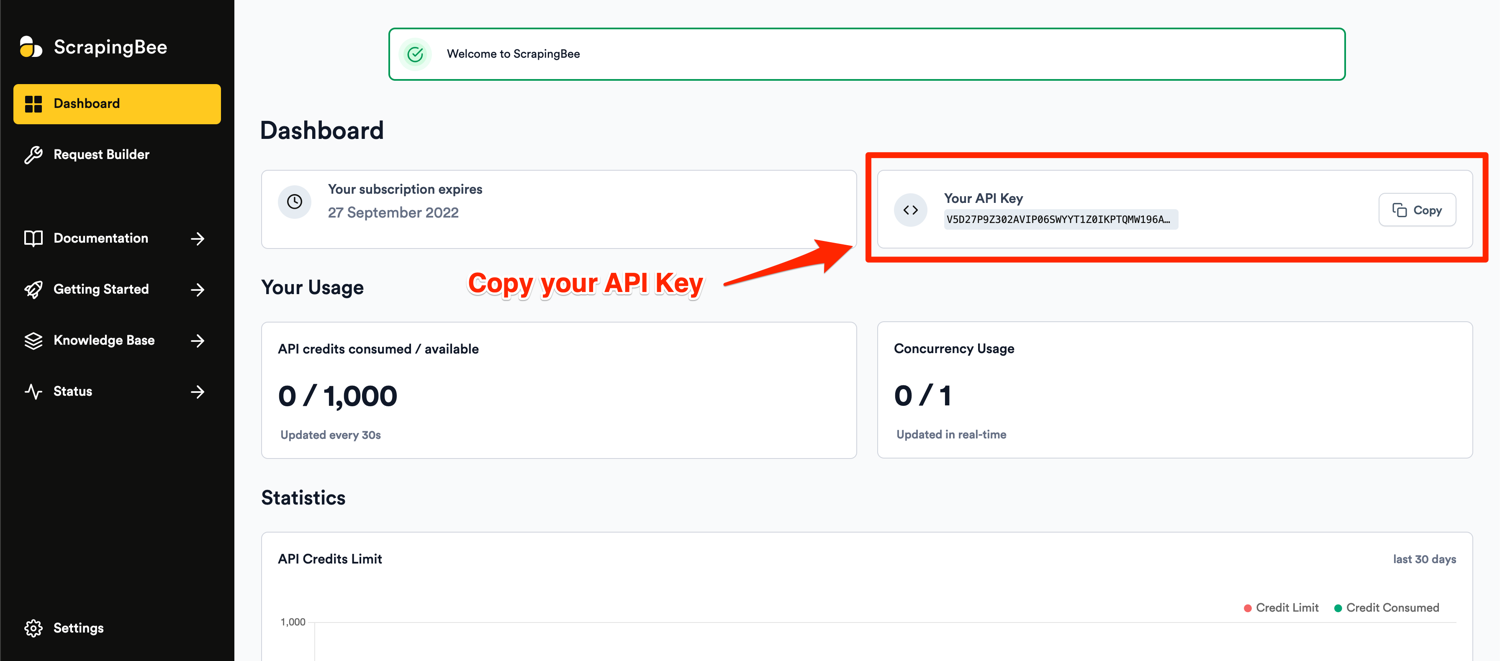
After successful signup, you will be greeted with the default dashboard. Copy your API key from this page and start modifying the code in the app.js file:
You can make a request via ScrapingBee using Axios like this:
const axios = require('axios');

axios.get('https://api.ipify.org/?format=json',
    {
        proxy: {
            protocol: 'http',
            host: 'proxy.scrapingbee.com',
            port: 8886,
            auth: {
                username: 'YOUR_API_KEY',
                password: 'render_js=False&premium_proxy=True'
            }
        }
    }
)
    .then(res => {
        console.log(res.data)
    }).catch(err => console.error(err))
Note: Don't forget to replace YOUR_API_KEY with your API key from the ScrapingBee dashboard.
The password field is used to configure the various parameters supported by the ScrapingBee API. In this example, I am disabling JS rendering and asking ScrapingBee to use premium proxies.
Running the above code should print a random IP address in the terminal. Successive requests will print different IP addresses as ScrapingBee automatically rotates IP addresses so you don't have to do that on your own. ScrapingBee's proxy mode is so economical and easy to use that there is no reason not to give it a try!
Conclusion
In this article, you learned how to use a proxy with Axios. You saw how you can use an authenticated proxy and how you can either hardcode the proxy information in the app.js file or set the proxy information in environment variables that are automatically picked up by Axios. You also learned that ScrapingBee can take a lot of pain out of this process of using proxies and abstracts away most of the complexity of finding reliable, unblocked proxies, and rotating them.
Even though Python is more famous for web scraping, JavaScript isn't too far behind either. There are multiple libraries like the cheerio library that provide support for parsing and extracting data from HTML documents. Give web scraping in Javascript a go and let us know about your experience!
Additional resources

Yasoob is a renowned author, blogger and a tech speaker. He has authored the Intermediate Python and Practical Python Projects books ad writes regularly. He is currently working on Azure at Microsoft.